Compare the Best eSIM Data Plans for Travelers in 2025
An eSIM data plan is a cellular data package stored digitally on a device’s embedded SIM chip, eliminating the need for a physical SIM card. Instead of swapping cards, you scan a QR code or download a profile from a carrier to activate service instantly. This provides the benefit of switching between operators or local data packages without visiting a store, all while keeping your original number active for calls and texts. To use it, simply purchase a plan, install the eSIM profile, and select it in your device’s settings to begin browsing. The core advantage is immediate, flexible connectivity across multiple regions without hardware changes.
How Do Digital SIM Cards Actually Work When You Travel?
You land in Lisbon, and instead of hunting for a plastic SIM, your phone pings—you’ve already scanned a QR code before takeoff. A digital SIM works by swapping your physical chip for a **software-based profile** stored securely on your device’s embedded chip. When you buy an eSIM data plan, the carrier remotely downloads a file that contains your new local number and network keys. Your phone then switches to a local tower the moment you disconnect from airplane mode, bypassing roaming fees entirely. You manage everything from your settings—no tiny trays, no lost cards.
The shift happens invisibly: your phone treats the eSIM as a second line, so your original number stays active for calls, while data flows through the travel plan.
That’s it—you land, your device authenticates, and you’re online.
What Happens Inside Your Phone the Moment You Activate a Remote Profile
The moment you activate a remote profile, your phone’s baseband modem receives a cryptographically signed package via the carrier’s server, triggering a secure element handshake. This eSIM activation sequence validates the profile’s integrity without overwriting your primary SIM. The phone then writes the new carrier credentials into the embedded chip, reboots the radio stack, and scans for the target network—typically within 10–20 seconds. Crucially, your existing local profile stays untouched; the modem switches to the new profile only after a successful network authentication, so your calls and data hand off seamlessly.
- The secure element decrypts the profile’s keys before any network scan begins.
- The radio stack reinitializes with the new carrier’s APN and authentication parameters.
- Your phone pings the home network to confirm roaming or local registration, then flips the active slot.
- If the profile fails validation, the phone rolls back to the previous SIM automatically.
Why Your Physical SIM Tray Can Stay Empty and Still Get Full Signal
Your physical SIM tray can stay empty and still get full signal because your phone’s modem doesn’t care where the subscriber identity lives—it just needs a valid profile to latch onto a tower. With an eSIM data plan, that profile is embedded directly in your device’s chip, so the radio hardware works exactly as if a plastic card were inserted. The empty tray is simply unused real estate; signal strength depends on antenna hardware and network coverage, not tray occupancy. So, pop out that SIM, slot in a digital profile, and you’ll see the same bars—because connectivity happens at the chipset level, not in the slot.
- Your phone’s antenna array is separate from the tray, so signal reception is unaffected.
- Carrier authentication via eSIM bypasses the physical card entirely, granting equal tower access.
- Full signal bars reflect network proximity and band support, not whether a SIM is physically present.
What Should You Check Before Buying a Data-Only Package Abroad?
Before committing to an eSIM data plan while abroad, verify your smartphone’s carrier lock status and eSIM compatibility—an unlocked device is non-negotiable. Scrutinize the coverage map for your specific destinations, as regional plans often exclude rural or neighboring networks. Check the data allowance’s speed tier: some packages throttle to 2G after a cap, making maps and messaging painful. Confirm whether the plan includes a local phone number or is data-only, which can break two-factor authentication for banking apps. Review the activation method—QR code or manual install—and whether it requires an active Wi-Fi connection at setup. Finally, inspect the validity window from purchase to first use, plus the refund policy if your travel dates shift. These checks prevent expensive surprises mid-trip.
Coverage Maps vs. Real-World Speeds: What to Look For in the Fine Print
Coverage maps from eSIM providers often show broad national shading, but real-world speeds depend on network priority and local tower density. Before buying, check the fine print for fair-use caps that throttle speeds after a set data volume, as many plans list “unlimited” but apply drastic reductions. Verify which host network the eSIM uses—regional MVNOs may piggyback on slower secondary carriers in rural areas. Look for stated maximum speeds (e.g., 4G vs. 5G) and compare them against your device’s band support. A map’s “4G” area can mean 5 Mbps in one country and 50 Mbps in another, so seek speed-test reviews from recent travelers. Also, confirm whether the cap applies to peak-time hours or roaming zones.
- Check the provider’s host network list, not just the map.
- Search for independent speed-test results in your specific destination.
- Read the data cap in megabytes, not the promotional “unlimited” label.
Data Caps, Fair Usage Policies, and How They Impact Your Daily Browsing
Before grabbing a data-only eSIM, peek at the fair usage policy (FUP)—it’s the fine print that decides if your “unlimited” plan is truly unlimited. Many budget eSIMs cap high-speed data at 1–5 GB daily, then throttle you to snail-like 128 kbps, which kills video calls and map loading. Check the cap duration: some reset at midnight, others after 24 hours, so a late-night download could eat tomorrow’s allowance. Also, watch for zero-rated apps—they might stream music without counting, but YouTube and social media usually burn through quotas fast. Your morning commute habits, like queueing podcasts over Wi-Fi, can stretch a small cap surprisingly far. If you roam across borders, confirm whether the cap applies per country or whole trip, as reconnecting can trigger a fresh FUP cycle.
Data caps and FUPs silently govern your daily browsing speed and data hunger—always verify the exact high-speed limit, throttle threshold, and reset timing before paying, because “unlimited” often means “limited by policy.”
How to Pick the Right Amount of Gigabytes for a Short Trip or Long Stay
For a short trip of three to five days, start with 5 GB if you’ll only navigate, message, and check email; this comfortably covers casual use without panic-buying top-ups. For a long stay exceeding two weeks, never assume unlimited is necessary—instead, calculate 1 GB per day only if you stream video or hotspot your laptop, otherwise 10–15 GB per month suffices for heavy social media and map usage. The real trick is to disable background app refresh and auto-downloads before you land, which can stretch even a modest plan by 40%. For trips over a month, choose an eSIM with a flexible data pack that lets you add gigabytes in small increments, since your habits will shift once you settle into a routine. Always err slightly higher for long stays—a 20 GB plan beats running out mid-vacation, as buying urgent top-ups abroad often costs more per gigabyte than picking the right tier upfront.
Streaming, Mapping, and Messaging: Estimating Your Personal Consumption
For accurate sizing, treat streaming, mapping, and messaging as separate data buckets. Streaming video in HD burns ~3 GB per hour, while SD uses ~0.7 GB—choose SD for commutes. Mapping consumes ~5 MB per 10 minutes of active navigation, but pre-downloading offline regions cuts this to near zero. Messaging is trivial: plain text uses <0.01 2 6 15 30 mb per message, though photo-heavy chats (whatsapp, imessage) average 2–3 image. track your last month’s screen-time breakdown: if you watch hours of netflix daily, allocate gb alone; navigate minutes, add mb. Personal consumption varies wildly—a frequent navigator with light streaming needs less than a podcast binge-watcher. Q: How do I estimate mapping data if I refuse offline maps? Calculate 5 MB per 10 minutes of active turn-by-turn guidance, but add 20% for route recalculations and zooming. For messaging, multiply daily messages by 0.01 MB—then double it for image forwarding.
Top-Up Options and Validity Windows: Avoiding the “Run Out at Midnight” Surprise
Before you travel, check whether your eSIM’s **validity window aligns with your arrival date or activation moment**—many plans start the countdown at purchase, not first use, which can trigger the dreaded “run out at midnight” surprise on day one. For long stays, seek plans that explicitly support flex-time top-ups, where adding data resets or extends your window from the renewal instant, not from a fixed calendar date. Short-trip users should prioritize providers offering one-tap top-ups in small increments (1–3 GB) that kick in immediately, preventing mid-journey dead zones. Always screenshot your plan’s expiry stamp and set a phone alert 24 hours before cutoff—this simple habit lets you pre-purchase a bridge package instead of losing connectivity during a late-night layover. If your provider’s top-up doesn’t automatically extend the window, buy the next tier before the current one dies.
What Features Make a Premium Digital Plan Worth the Extra Cost?
A premium eSIM data plan justifies its extra cost through **unlimited high-speed data** without throttling, ensuring seamless 4K streaming and reliable video calls abroad. It adds **global multi-network coverage**, automatically switching to the strongest local carrier—crucial in airports or rural zones where budget plans drop to dead spots. Premium tiers include **hotspot tethering** at full speed, letting your laptop share the connection without capped speeds. They also offer **instant top-ups** and 24/7 live chat support, resolving connectivity issues mid-trip. Most importantly, plans with a 30-day rolling validity prevent wasted data on short trips, while flexible pause/resume features let you pay only for active travel days—making the higher upfront fee a cost-per-active-hour win.

5G Access, Tethering Permissions, and Multi-Device Support Explained
When weighing a premium eSIM plan, the real value often hides in how it handles 5G access, tethering permissions, and multi-device support. A cheaper plan might cap you at 4G speeds, while a premium tier unlocks true 5G speeds for lag-free video calls and quick downloads—but check if that 5G is included in your destination, not just your home country. Tethering is another divider: budget plans often throttle or block hotspot use entirely, so verify your plan explicitly allows sharing data to your laptop or tablet. Finally, multi-device support means you can install the same eSIM on a phone plus an iPad or smartwatch without buying a second plan, ideal for travelers carrying multiple gadgets.
In short, premium eSIM costs justify themselves through unlocked 5G, honest tethering permissions, and seamless multi-device sharing—features that turn a single data pack into a full connectivity toolkit.
Hot-Swapping Between Operators Without Visiting a Store or Finding Wi-Fi
A premium eSIM plan’s real value emerges when you hot-swap between operators without visiting a store or finding Wi-Fi, relying solely on the device’s cellular connection. You can switch profiles in seconds from the settings menu, keeping your primary number active while testing a local carrier’s coverage https://baztel.co/ or pricing. The old profile remains stored, so reverting is instant if data speeds disappoint. Unlike physical SIMs, no tray ejection or store queue interrupts your workflow. This is critical for travelers in airport arrival halls—you activate a new operator while still on the previous network’s data, ensuring zero offline gaps. The capability requires a plan that permits multiple active eSIM profiles and immediate profile download via cellular, not just Wi-Fi.
Q: Can I hot-swap operators mid-trip if I have no Wi-Fi or store access?
A: Yes, if your device supports eSIM and the plan allows remote profile installation. You download the new operator’s eSIM over your current cellular data connection, then switch in the settings app—no Wi-Fi or physical store needed.
How Do You Activate and Troubleshoot a New Digital Profile in Under Five Minutes?
To activate a new eSIM data plan in under five minutes, scan the QR code provided by your carrier from your phone’s Settings > Cellular > Add eSIM, then confirm the profile installation. If the scan fails, manually enter the activation code (SM-DP+ address) instead, which usually takes less than a minute. After installation, toggle the new line on and ensure “Data Roaming” is enabled if you’re traveling, then restart your device to force the profile to register. For troubleshooting, if you see “No Service,” first switch the eSIM off and on in settings, and check that your APN matches the carrier’s exact string—a wrong APN is the most common silent blocker. Should activation time out, re-download the profile from the carrier’s app, as store-and-forget QR codes can expire. Always disable your physical SIM’s data line temporarily to isolate conflicts, then assign the eSIM as the default data line. Verify the IMEI and EID are not locked to another account before contacting support. A quick airplane-mode toggle often resolves registration handshake delays without further steps.

Scanning a QR Code vs. Manual Entry: Step-by-Step Setup for iPhone and Android
For eSIM activation, scanning a QR code is almost always the fastest route. On **iPhone**, head to Settings > Cellular > Add eSIM, then point the camera at the carrier’s QR code—it auto-fills the activation code in seconds. On Android, go to Settings > Network & Internet > Mobile Network > Add Carrier, and tap “Scan QR Code.” If scanning fails or the code is damaged, switch to **manual entry**: your carrier provides an activation code (SM-DP+ address) and a matching confirmation code. On iPhone, tap “Enter Details Manually” under Add eSIM; on Android, choose “Enter Manually” in the same menu. Type both codes carefully—spaces and uppercase letters matter. It takes about 60 seconds longer, but it’s a reliable fallback when the camera won’t cooperate.
Scanning a QR code is the quickest eSIM setup on both iPhone and Android, but manual entry with the SM-DP+ and confirmation codes works as a solid backup—just mind your typing.
Common Activation Errors and How to Fix Them When You Have No Cell Service
When you have no cell service, the most common eSIM activation error is a missing network profile because the QR code scan requires data. Fix this by using the provider’s offline activation code—typically a numeric SM-DP+ address and activation code—entered manually in your device’s “Add Cellular Plan” menu. If the profile downloads but fails to register, confirm airplane mode is off and toggle it once to force a network rescan. Another frequent error is a “profile already exists” message, which you resolve by deleting the old eSIM from your cellular settings before re-adding. For timeouts, connect to any Wi-Fi hotspot solely for the download, then switch back; the profile persists without signal. If “No SIM” persists, restart your phone to trigger a carrier refresh. Offline activation codes resolve most no-signal failures without relying on a live connection.
Without signal, manually input the SM-DP+ address, remove duplicate profiles, and use Wi-Fi only for the initial download; a restart finalizes registration.
Can You Use the Same Digital Line for Voice Calls, or Is It Strictly for Internet?
When you buy an eSIM data plan, the digital line is often defined by its primary purpose—so a plan labeled “data-only” will *strictly* reject voice calls, even if your phone shows strong signal. However, many travel eSIMs now include a native voice number, meaning the same digital line can handle both internet and calls, but you must check the plan’s feature list before assuming. If you’re on a data-only eSIM, your phone can still route calls through a second physical SIM or over VoIP apps like WhatsApp, but the eSIM line itself won’t ring for incoming calls. The real nuance is that your device’s “default voice line” setting may let you use data from the eSIM while placing calls via another carrier—so the same line isn’t shared, but your experience feels seamless. For clarity, read the plan’s description for “voice support” or “call minutes,” because not all digital lines are equal—and a data-only eSIM will never connect to cellular voice, regardless of your phone’s capabilities.
Data-Only Plans vs. Plans with a Voice Number: What’s Right for Your Needs
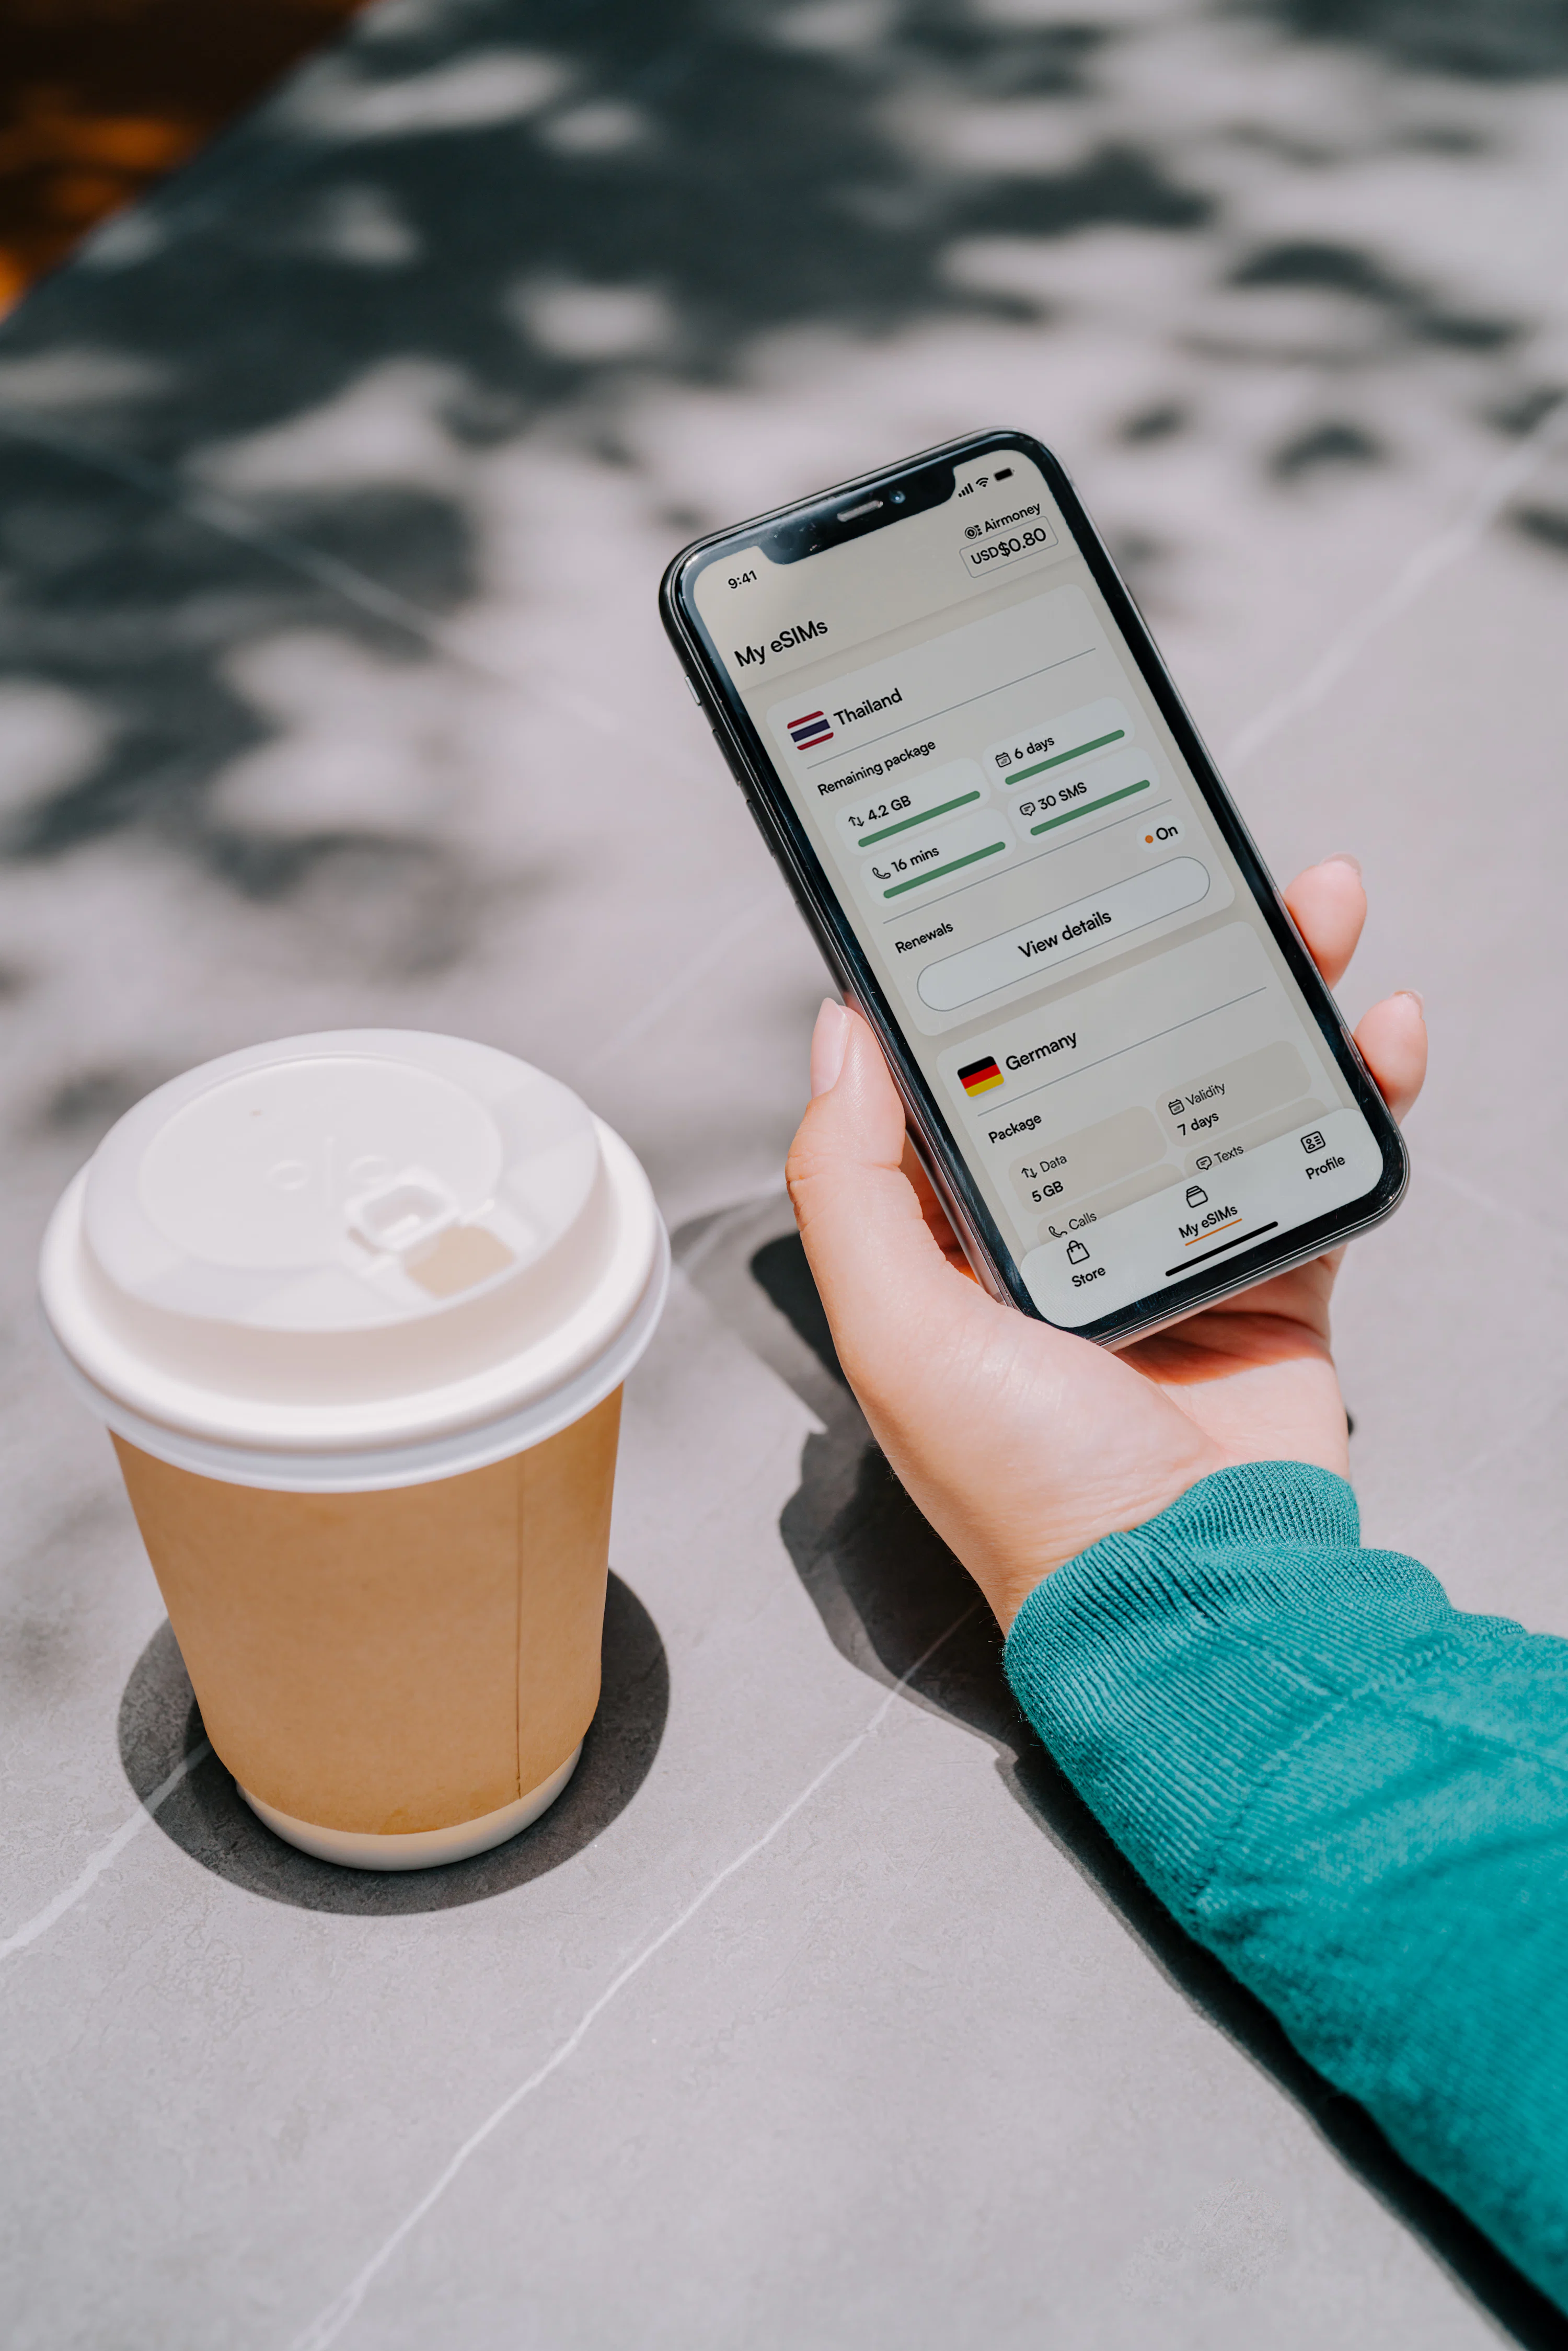
Choosing between data-only plans vs. plans with a voice number hinges on how you handle calls. A data-only eSIM suits dual-SIM users who rely on a primary carrier for calls, or those who exclusively use VoIP apps like WhatsApp or FaceTime Audio, since you’ll lack a native dialer number. A voice-inclusive plan is better if you need a traditional number for two-factor authentication, business contact, or calling places where VoIP is unreliable. Remember, your device can hold multiple eSIMs, so you might pair a cheap data-only eSIM with a separate voice line.
- Data-only plans are typically cheaper and ideal for hotspot or tablet use without call features.
- Voice plans add a native number for SMS and calls, but often cost more per GB.
- Check if your phone supports VoLTE on the specific eSIM carrier before relying on voice.
- For short trips, a data-only plan plus Wi-Fi calling back home may eliminate the need for a voice number.
How to Keep Your Home Number Active Simultaneously for Banking and Verification Texts
To keep your home number active for banking codes while using an eSIM data plan, set your phone to **dual SIM with the home line forwarding SMS to the eSIM’s data network**. Most carriers let you enable Wi-Fi calling or SMS-over-IP for the physical SIM, so verification texts arrive even when data runs on the eSIM. Just keep the home SIM installed (even with no signal) and toggle “Cellular Data” to the eSIM, leaving voice/SMS on the primary line. For iPhone, go to Settings > Cellular > Default Voice Line. Android users can pick “Ask every time” for calls, but data stays eSIM. This preserves OTP delivery without roaming charges.
Banking-verification continuity relies on your home line’s SMS relay feature, not a separate number.
Q: Can I receive bank texts if the home SIM has zero bars?
Yes—if your carrier supports Wi-Fi calling or SMS fallback over the eSIM’s internet, the phone fetches texts via the data connection automatically. Test by disabling mobile data on the home SIM and sending yourself a code.